How to Write a Resume for Government Job Applications
A good resume can decide whether your government job application moves forward. Recruiters and screening systems check it first, before anything else.
Government jobs follow a fixed process. Your resume must match the notification, not impress with design.
This guide explains what to include, how to format it, and what to avoid. Follow it, and your resume will be clear, honest, and ready to upload.
What Makes a Government Job Resume Different
A government resume is not the same as a private-sector CV. It is checked against eligibility rules, not creativity.
Recruiters look for exact matches: qualification, age, experience, and certificates. Extra flair does not help here.
Keep the tone formal and factual. Every claim must be provable with a document.
Most applications are screened by a portal or a clerk first. A clean, simple resume passes faster than a fancy one.
What to Include in Your Resume
Include only details that support your eligibility for the post. Leave out anything the notification does not ask for.
Personal Details
Write your full name exactly as it appears on your Class 10 certificate. Spelling differences can cause rejection.
Add your date of birth, mobile number, email address, and postal address. Use an email address that you check daily.
Do not add religion, caste, or marital status unless the form asks for it. Keep this section short and factual.
Education
List your education in reverse order, starting with your highest qualification. This is the standard expected format.
For each entry, give the course, board or university, year of passing, and percentage or CGPA. Add the institution name.
If you are still studying, write “Appearing” or “Pursuing” with the expected year. Never claim a degree you have not completed.
Work Experience
List jobs in reverse order, with the employer name, post held, and start and end dates. Add one line about your duties.
Government experience, internships, and apprenticeships all count if they are relevant. Mention the organisation clearly.
Freshers can skip this section or write “Fresher” honestly. Do not invent experience to fill the page.
Skills and Certificates
List skills that match the post, such as typing speed, computer knowledge, or a driving licence. Be specific and honest.
Add certificates with the issuing body and year, for example a computer course or a language test. Attach proof later if asked.
Do not list skills you cannot demonstrate. A skill you cannot prove may hurt you at document verification.
The Right Format and Length
Use a simple format: one column, black text on white, and a standard font such as Arial or Calibri at 11 or 12 point.
Keep the resume to one or two pages. Freshers should aim for one page; experienced candidates may need two.
Save the file as a PDF unless the portal asks for another format. Name it clearly, like “YourName_Resume.pdf”.
Check the file size limit on the portal before uploading. Compress the PDF if it is too large, without losing readability.
Match Your Resume to the Post
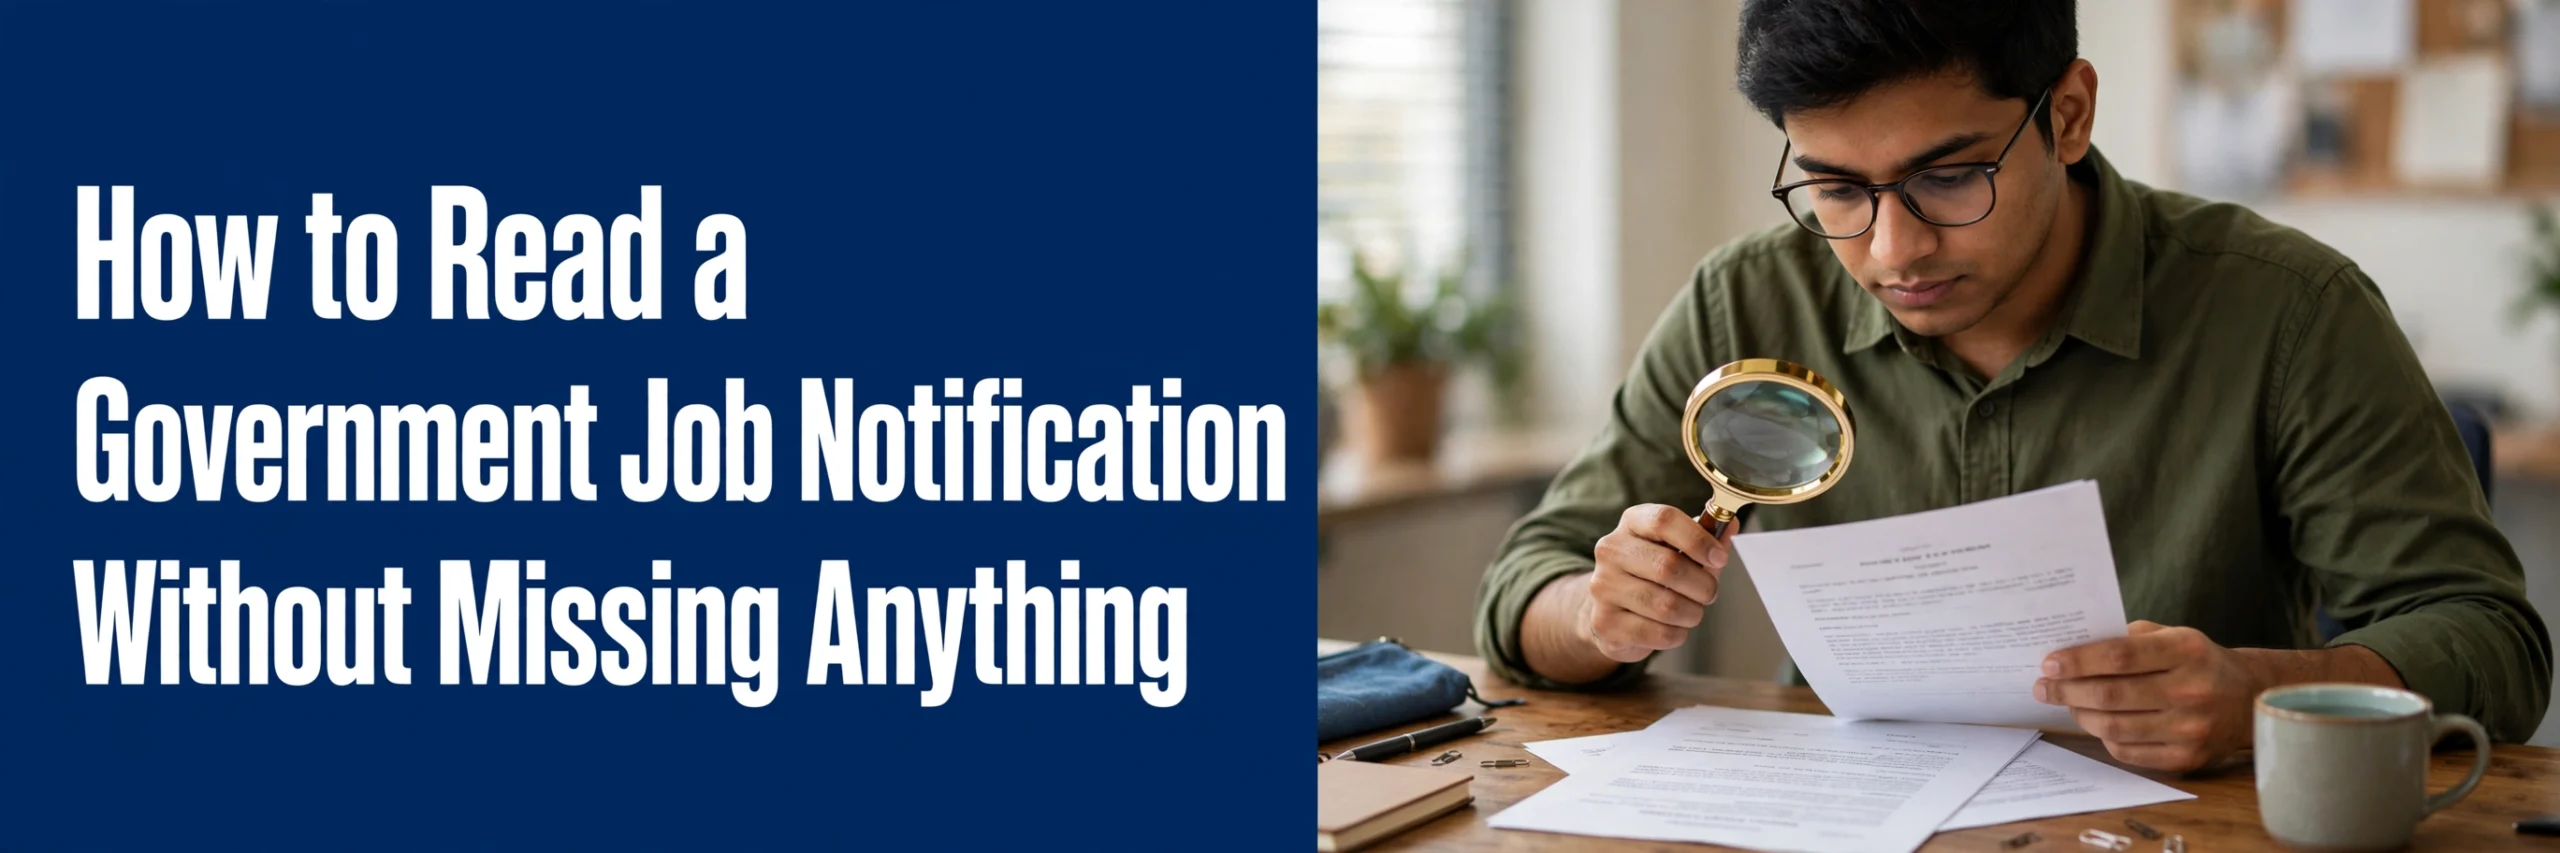
Read the official notification before writing a single line. Note the required qualification, age limit, and experience.
Then adjust your resume to highlight the matching details first. Put the most relevant qualification at the top.
Use the same words the notification uses for the post and qualification. This helps both human screeners and portals.
Requirements vary by recruitment, so never copy a fixed template blindly. Always check the official notification of that recruitment.
Section-by-Section Sample Structure
Use this structure as a starting point. Remove sections that do not apply to you, and keep the order below.
- Name and Contact Details: full name, phone, email, address.
- Career Objective: one or two lines about the post you seek.
- Education: highest qualification first, with year and marks.
- Work Experience: most recent job first, with dates and duties.
- Skills: job-relevant skills only, with level where useful.
- Certificates: course, issuing body, and year.
- Declaration: a short statement that the details are true.
A short career objective helps when it names the post. Avoid vague lines like “seeking a challenging opportunity”.
The declaration matters in government applications. Sign and date it when the format asks for a signed copy.
What to Write in Each Section — and What to Avoid
The table below shows what belongs in each section and the mistake candidates make most often.
| Section | What to Write | Common Mistake |
|---|---|---|
| Personal Details | Name as on Class 10 certificate, phone, email, address | Nickname, old email, or wrong spelling of name |
| Education | Course, board or university, year, percentage or CGPA | Wrong year, inflated marks, or missing qualification |
| Experience | Employer, post, dates, one line on duties | Inflated job titles or overlapping dates that do not add up |
| Skills | Job-relevant skills with honest level | Listing skills you cannot prove at verification |
| Certificates | Course, issuing body, year | Claiming a certificate you have not received yet |
| Photo and Signature | Recent photo and signature in the asked size and format | Old photo, blurry scan, or wrong file size |
Common Mistakes That Get Resumes Rejected
Most rejections come from small, avoidable errors. Read this list before you submit your application.
- Wrong dates: education or job dates that clash with your certificates.
- Inflated claims: a degree, skill, or job you cannot prove with documents.
- Photo and signature errors: an old photo, a dark scan, or a file that breaks the size limit.
- Fancy formatting: tables, columns, icons, or colours that break when a portal reads the file.
- Spelling errors: your name, or the post name, spelt differently in two places.
- Missing details: no phone number, no email, or no year of passing.
Tips for Freshers
Freshers should lead with education, not experience. Put your strongest qualification right after the objective.
Add internships, projects, and volunteer work if they relate to the post. One honest line each is enough.
Tips for Experienced Candidates
Lead with your most recent and most relevant job. Older roles can be one line each.
Final Checklist Before You Submit
Run through this checklist every time you upload a resume. Do not skip it, even for a post you have applied to before.
- Name matches the Class 10 certificate exactly.
- Date of birth matches your official documents.
- Education listed in reverse order, with correct years and marks.
- Experience dates do not overlap or contradict each other.
- Skills and certificates are honest and provable.
- Photo and signature meet the size and format in the notification.
- Spelling checked, especially names, post title, and dates.
- File saved as PDF (or the asked format) with a clear file name.
Related Government Jobs
- Documents Required for Government Job Applications: Complete Checklist
- How to Apply Online for Government Jobs in India: Step-by-Step Guide
- How to Prepare for Government Job Exams: A Beginner’s Study Plan

Suraj is a career content writer at SrJobHut, covering government jobs, private jobs, internships, and recruitment updates. He focuses on providing clear, useful, and easy-to-understand information to help job seekers explore career opportunities.